While creativity can not be forced there are steps to follow that will give you the best chances at success. These steps can be thought of as gates or check points to creating a finished product. Meaning you need to complete one step before you are ready to start the next.
This three step creative process can be broken down into - storyboard, thumbnailing and design.
Over the years famous designers like Paul Rand (IBM and UPS logo designer) and Paula Scher (one of the most influential graphic designers) have used this process in there works. So Whether your making a logo, UX/UI design or a poster, these three steps can help you staying on schedule and produce a profession design every time.
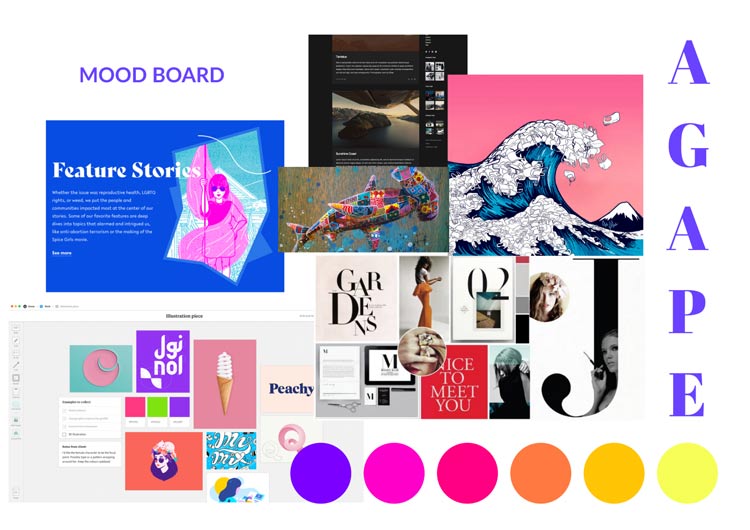
Mood Boarding
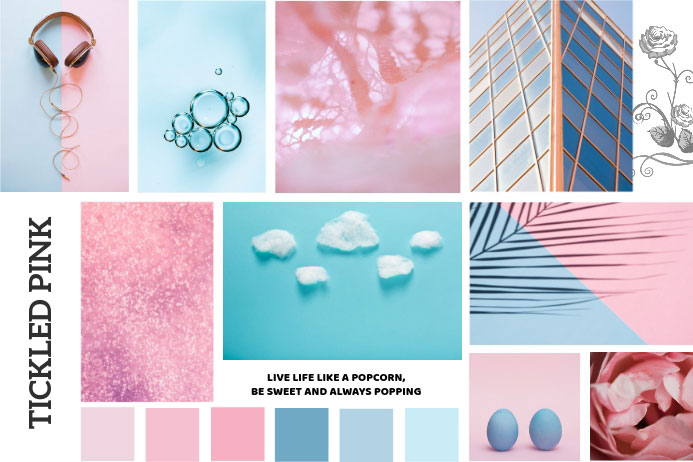
The process of mood boarding uses the collaging technique with images, text, and samples of physical or digital objects. The composition of these objects give a base to start our project from.
In the mist of starting a design project this step is often overlooked. Even though you may have an idea on how you want to start your project, mood boarding is important for the following reasons.
- Make sure you are not infringing on copyrighted works.
- Compare styles of design and the demographic you are designing for.
- Be aware of any pitfalls to avoid. This could include historical influences, demographic influences and offensive design.
- Helps determine how you want to compare or contrast with your competitors.
- Be aware of design styles that are successful for similar brands.
- A great way to get to know who your client is.
- Create a visual story for your design and spurs on creative ideas.
I could certainly go on with why it's a good reason to storyboard but I think these reasons are pretty convincing on there own. Think of this process as part of the research needed to make an informed decisions as the project progresses.
Pick a Mood Boarding Platform
There is no particular method to mood boarding. It is open to many different interpretations like using one of the Adobe suits, Figma, Google Slides or printing out your images and putting them on foam board.
Be Open to Ideas
When finding your images it is a good idea to be open to following the creativity where ever it leads you. This can involve photographing anything that you think will be an inspiration or productive to the project. Trips to the library are always useful and of course use Google to find images.
What it Should Look Like
I would shoot for about three to four pages of images and about eight images per page. Ultimately start with as many images that inspire you and distill them down to two to four pages. I like to print out the mood boards on letter paper so I can have them in front of me during the thumbnailing process.
Don't Spend to Much Time
Your don't want to spend to much time on this process and it doesn't need to be perfect. I usually just dump all the images that I think will be relevant into a folder. Then drag them into Adobe Indesign. From there I can quickly pick out the good ones, then order and scale them.
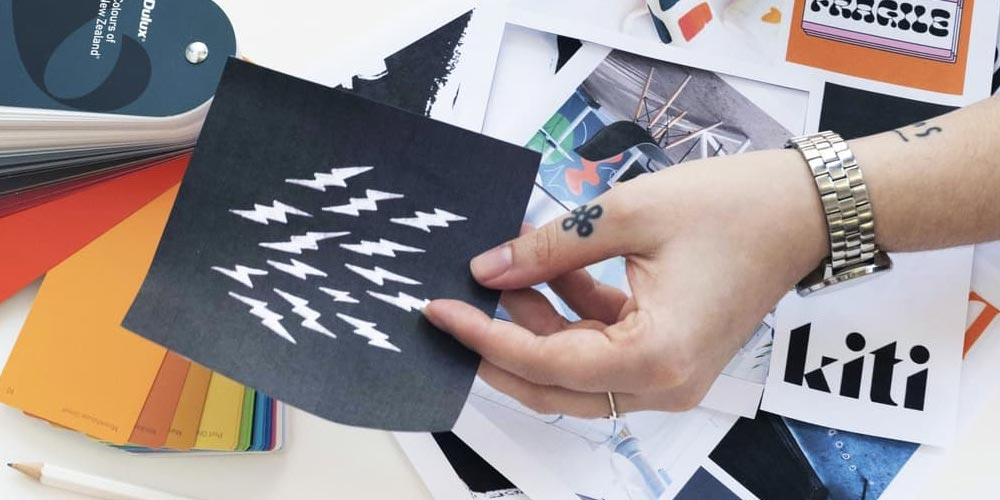
Thumbnailing
Once your mood boarding is complete we can move to the next gate of thumbnailing. This is were we need to kick in the creative juices.
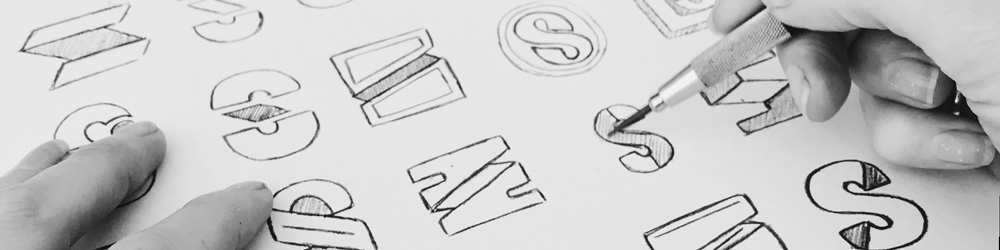
Even if you are not the best illustrator, thumbnailing is still the best way to get the ball rolling. There is no software that can transfer ideas like the human hand and pencil to paper. There are so many tiny decisions that can be made instantly with the pencil.
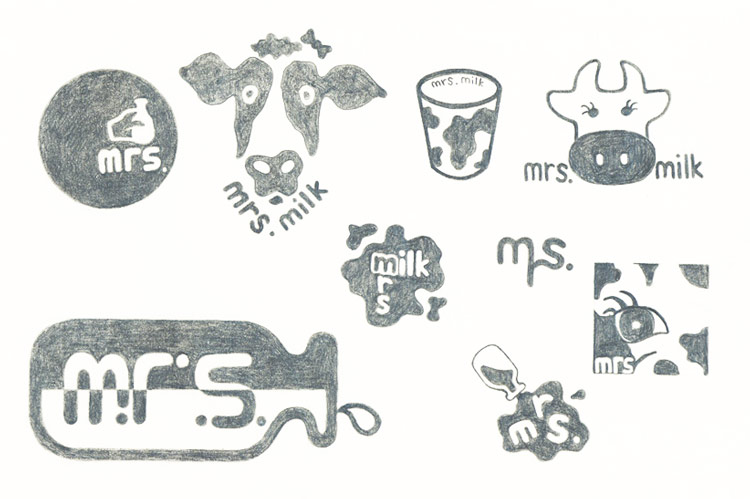
At this stage we don't need to make definitive decisions and can leave room for interpretation. Sometime a rough thumbnail is the best, as it allows us to explore unexpected creative ideas.
Action Verbs

Alex F. Osborn, the author of Applied Imagination and the man who became famous for inventing “brainstorming,” devised useful techniques that encourage creativity.
One of the techniques called action verbs involves taking an initial idea and applying different verbs to your thumbnails.
Verbs such as magnify, rearrange, alter, adapt, modify, substitute, reverse, and combine prompt you to manipulating your core concept.
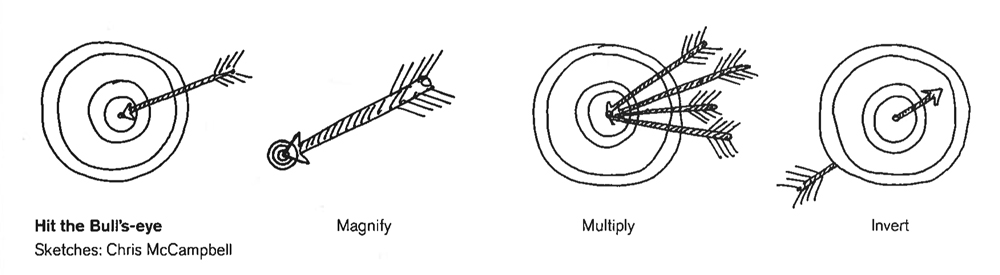
Create rows of thumbnails explore concepts like action verbs where your taking an initial idea and applying different verbs to it. Each verb suggests a structural, visible change or transformation. Designers can use this exercise to quickly create fresh and surprising variations on an initial idea.
Pick a Thumbnail
Once you have exhausted your creative thumbnail process, narrow down your thumbnails to three or four that you really like. Then get some feed back from people on which one they like the best. Based on the feed back, pick the one that looks like a winner and get ready to make it sing.
The Final Gate - Design
Because you have gone through the mood boarding and thumbnailing process the final design phase of the project should go smooth. At this point the creative concept should be done and the plan to move forward is in place. It would be disastrous at this point to change the plan. There is very little flexibility in this design process.
Design can be unforgiving, once the wheels are in motion there is no turning back.
By using the gate analogy it gives us the reassurance that if we follow and trust the plan, in the end, we will get a finished product.
Choose Your Design Tools
For most design processes you will redraw and fine tune your chosen thumbnail with tracing paper and a harder pencil. If you are a good illustrator you can even ink your drawing on paper before scanning it into the computer.
For many of us that don't have the steady and trained hand of an illustrator, we scan our pencil thumbnail into Adobe Photoshop or Illustrator and start designing. Now we can use the pen tool, shape tool, typeface and colors to bring the design to life.
Sprint the First Rendition for Review
Because the design is going to be taking on so many features at once, there is no need to over work it at this point. We want to prove our concept by quickly putting it together without adding to many fine details.
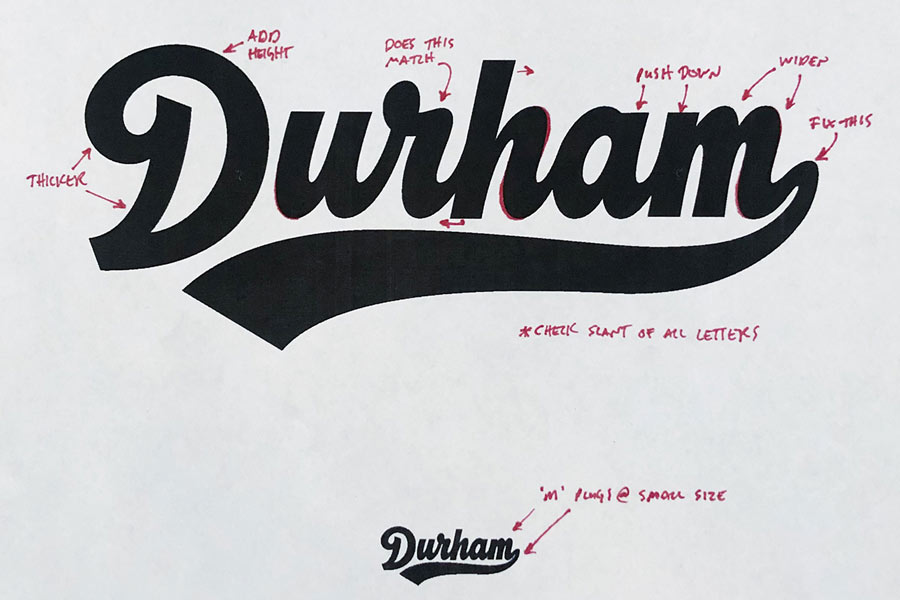
Print and Review
Nothing beats reviewing a printed copy of the design. It's standard to print out a regular size and a small size of your design. You want to be able to stand back from the design so it is about the size of your thumb. This will make the imperfection really standout, so you can focus on the worst of the issues at this point. You can also turn it upside down to see if the counters and scale has even weight top and bottom.
Markup
Once we have our feed back and markups we can start adding the finished details to the design. At this point if the design is a home run, you should be smooth sailing to the finish.
Most of the time you will need two or more rounds of markup and review. These should be updates like scale, proportions, contrast, font choice and so on.
Micro Type to Perfection
If this design is really going to sing, you want to fine tune it. At this stage all the element should be in perfect harmony. Look at companies that put design at the forefront of there brand like Starbucks. At Starbucks the design process is very intense and done to perfection.
Final Thoughts
There are so many options for creating graphic design ideas that the process can be overwhelming. Design components vary from designer to designer and project to project. By breaking down this whole process into these three steps designers can free their minds to generate vibrant solutions that are satisfying to clients, users and themselves.