We are going to be go through the first steps to building a blog with 11ty. Building a 11ty site from scratch will help you keep your site lightweight, scalable and easy to manage.
It will also give you a full understanding of the 11ty ecosystem that uses a minimal approach. The builder of Eleventy Zach Leatherman using a smart-minimal-jamstack approach to 11ty's development and with it, in such good hand, I'm sure 11ty is here to stay.
I have a fully built 11ty theme you can use as a code reference or starter theme on GitHub. You can view the live theme build on Netlify.
Although 11ty is a more of a hands-on approach to building a website, it is much easier to build out and manage than a platform like WordPress in the long run.
How 11ty Works
11ty is a static site generator that can also be used as toolkit, like Gulp.js, to automate and enhance workflow. It integrates very well with the Netlify's free static site hosting and GitHub's version control that Netlify will build the site from.
11ty uses a minimal approach and can be built using good old HTML and CSS. This makes 11ty very flexible. Its minimal, unbiased approach has attracted top companies like Google and Netlify.
The only requirement to getting started is Node.js and a index file. You can choose any of the following currently available templating languages of your choice:
We use an .eleventy.js configuration file to:
- Customize your input/output directories and add other watch directories.
- Add filters, plugins and shortcodes.
- Hook in other templating data and content features.
Unlike other static site generators like Gatsby, or platforms like WordPress, plugins are not a huge dependency for Eleventy sites.
Flexible Content Modeling
11ty defaults to a file system directed page creation. Which means you can simply just create the folder structure to make up how you want your URL structure to look and work. This makes creating SEO-friendly URLs easy, and you can read more about it in my SEO-Friendly URLs With 11ty post.
Once we have our folder structure set up, we can group the content using 11ty collections. Collections are like categories which allow us to group and loop through content. We can also source content from .json data as well.
Video Instructions
This video will walk you through this post and help explain how to setup nodejs and 11ty.
Let's Build an 11ty Site!
11ty is built using Node.js, so you will need to have Node.js installed locally. To see if you have node installed, go to your terminal and type:node --version. If you don't have Node.js installed you can download it from nodejs.org. Once you have Node.js installed we are ready to go!
1.Install 11ty
Our first step is to init a new project from your project folder by typing:npm init -y in the terminal. Once that is ready we will install Eleventy by typing:npm install @11ty/eleventy in the terminal.
Now we can go to the package.json file and customize the available script to:
  "scripts": {
    "start": "eleventy --serve",
    "build-production": "eleventy"
  },
The eleventy --server script will enable us to launch a local server and includes browsersync, that give us hot reloads as file changes are made.
2.Base Files
Now we can create an .eleventy.js configuration file to add to our root project folder. By default, the 11ty input folder is the root folder - so we are going to change that to a src folder so we can keep the root folder clean. We will leave the default for the 11ty output folder to _site.
module.exports = function(eleventyConfig) {
  // Return your Object options:
  return {
    dir: {
      input: "src", // default is "."
      output: "_site" // default is "_site"
    }
  }
};
Now we can create the src folder in the root folder; then create our home page index.html file in there. He is some HTML 5 boiler plate code to get started.
<!DOCTYPE html>
<html>
<head>
<title>Document</title>
</head>
<body>
<header>
<h1>Handcrafted 11ty Site</h1>
</header>
<main>
<article>
<p>My starter 11ty site. 11ty is great for blogs, portfolio's...</p>
</article>
</main>
<footer>
<p>© 2022 Design 2 SEO</p>
</footer>
</body>
</html>We will come back and replace the header, content and footer with dynamic layout files.
3.Build the Site
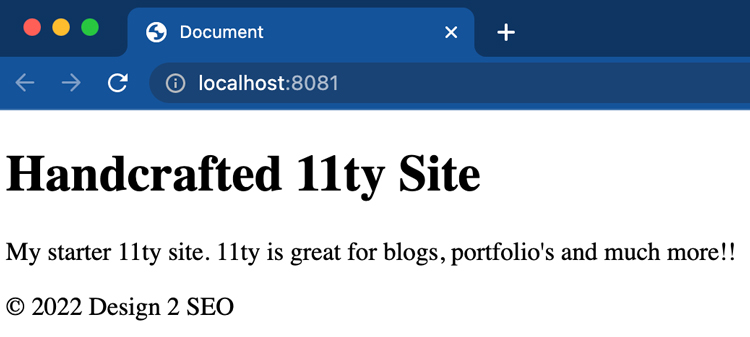
That is all we need to get the site running. Now we can type:npm start in the command line and 11ty will build our static site in the _site output folder.
Once the site is built, 11ty will start the server on port http://localhost:8080. From here, every time we make an update to the files, Browsersync will refresh the browser for us.
Be aware that, if there is an error in your code, no updates will be run until the error is fixed. Check the terminal to see the error if this happens.
4.Make it Dynamic
Now that we have 11ty running with the base files we can start building the site. We can add a _includes folder to the src folder.
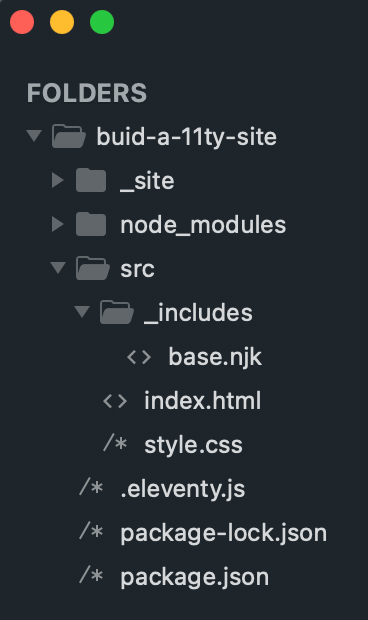
The _includes folder is an expected folder in 11ty and is where we will be putting the template and layout files for the site.
We are going to be using HTML and Markdown for the page files, and Nunjucks for the build files.
The Nunjucks templating language is how we dynamically populate content, and is one of the more popular templating languages with 11ty. It has good documentation and uses easy-to-work-with syntactics.
We can create our first layout file by adding a base.njk file in the _include folder. We're going to be transferring our HTML 5 boilerplate code from the index.html homepage file over to the base.njkfile, so you can just do a save as on the index.html file.
Once everything is in the base.njk file, we will use Front Matter Data and the concept of layout chaining to connect the two files.
Replace the HTML 5 boilerplate code with the below Front Matter at the top of the index.html homepage file. This will chain it to the base.njk file.
---
layout: 'base.njk'
title: Handcrafted 11ty Site
---
Now we can replace the static head title text and header h1 text text in the base.njk file with the below Nunjuck title code which will pull the title: key data from the front matter.
{{ title }}Now cut the article tags and content from the base.njk file, and paste the code back over to the index.html file (sorry for the jumping aroung, but this is a good way to understand how things are working).
Now in the base.njk file we paste the below 11ty provided variable of content to pull the content from the index.html file. This variable holds all the files content except front matter. We are also including the safe filter, which means if that content happens to include compiled HTML it gets rendered as such.
{{ content | safe }}Finally our base.njk file should look like this.
<!DOCTYPE html>
<html>
<head>
<title>{{ title }}</title>
</head>
<body>
<header>
<h1>{{ title }}</h1>
</header>
<main>
{{ content | safe }}
</main>
<footer>
<p>© 2022 Design 2 SEO</p>
</footer>
</body>
</html>And our index.html file should look like this.
---
layout: 'base.njk'
title: Handcrafted 11ty Site
---

<article>
  <p>My starter 11ty site. 11ty is great for blogs, portfolio's...</p>
</article>
If our homepage looks the same in the browser and we don't have any errors, then everything is working. We can now add style.css to the src folder and will then have the base file structure for scaling the site.
5.Adding Styles
Once we have our style.css in place, we have to tell 11ty to pass this file through to the build folder by adding it to the .eleventy.js configuration file.
This will go in the eleventyConfig function as well, and can be duplicated for each file you need to pass through.
//Pass through files
eleventyConfig.addPassthroughCopy('./src/style.css');
Now we can add the link to the head of the base.njk file and get the styles working.
<link rel="stylesheet" href="/style.css">That will conclude this portion of building an 11ty site. Once you start working with 11ty it will becomes more intuitive and leaves lots of room for creative development.
Whats Next?
In Base - Part 2 we will start adding more layout files like: header, footer and title tags to the layouts. Once we have our core layout files in place we will be adding an about page and blog. Here we will be working with Front Matter, JSON data and Collections to create categories and loops through the posts.
Follow along on GitHub - Part 1.