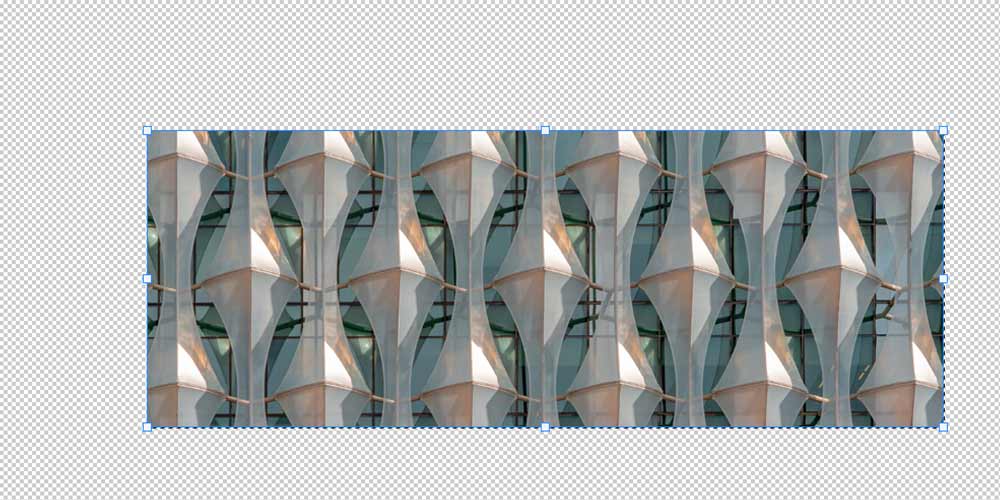
Masking, cropping and saving a cropped area of an image with Photoshop takes a few steps to remember, so I put together a quick step-by-step procedure.
- Open your full size image with Photoshop.
- Click "m" for marquee and click and drag around the approximate area you want to mask.
- Make sure you're on the layer you're masking and click the mask icon at the bottom of the layers panel.
- Now click the new Layer mask thumb on the layer so it is highlighted.
- Then press the "command" key and click the new Layer mask thumb to get the running ants shape path.
- Now press command "t" to transform the mask.
- Hold shift + click and drag to transform.
- Then press enter when you're finished resizing.
- Now go to Image > crop.
- And save for web and devices by pressing "option + command + shift + s" or go to File > Export > Save for Web.
Unfortunately, Photoshop does not have a built-in way to export the masked area without cropping and changing the canvas size. So to get back to the original canvas size use the undo command and save.